Doing a portrait is an involved process, that depending on the complexity and size, can take quite a while! Throughout the process the client is involved regularly for input and progress updates. A portrait can be painted from life or photo reference, or a combination of both.
Typically, a portrait commission can be broken down into the following steps:
Initial Meeting
A portrait commission will usually start with a meeting to discuss the intentions and ideas for the painting. Composition, pose, size, theme, mood, location will all be covered.
Sketches and Tests
This step is important for me to get familiar with the subject, by doing some sketches or rough paintings of the client in various poses. These often remain unfinished as they are simply exploratory.

Concept Stage
Depending on the need, a portrait may require an elaborate concept stage, whereby I develop several ideas around a theme, exploring different compositions and approaches to solve creative problems. In this instance, the client asked to be posed with a dragon, and so I developed several rough sketches exploring the dragon size, position and how literal the dragon needed to be. At this stage, I bring to bear my extensive lighting experience to devise a lighting plan and mood for the painting.

The client decided on one composition, which was pushed a bit further, with some tweaks, to get a working rough from which to plan the rest of the work.
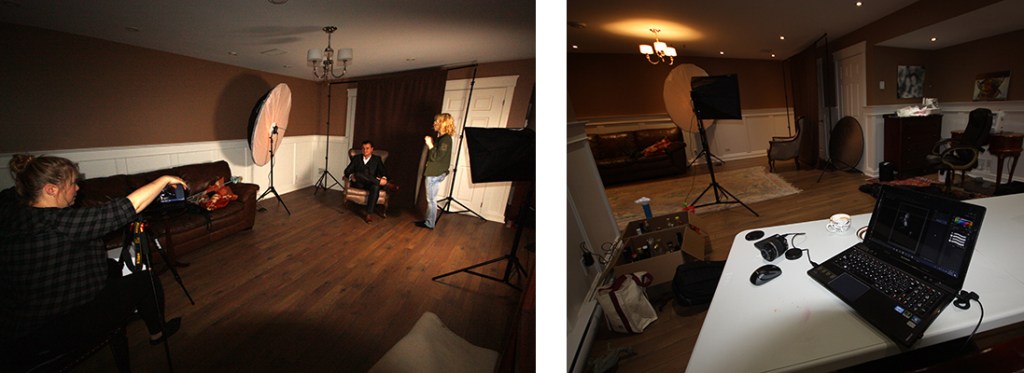
Photoshoot
Once the concept is approved and lighting is established, it is time to organize a photoshoot with the photographer. In this example, I collaborated with an old friend of mine, Talia Dezso who is an established portrait photographer in the Montreal area.
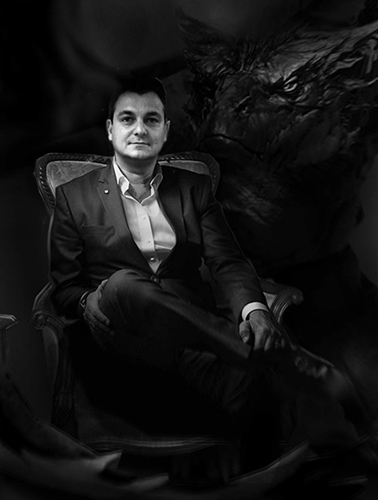
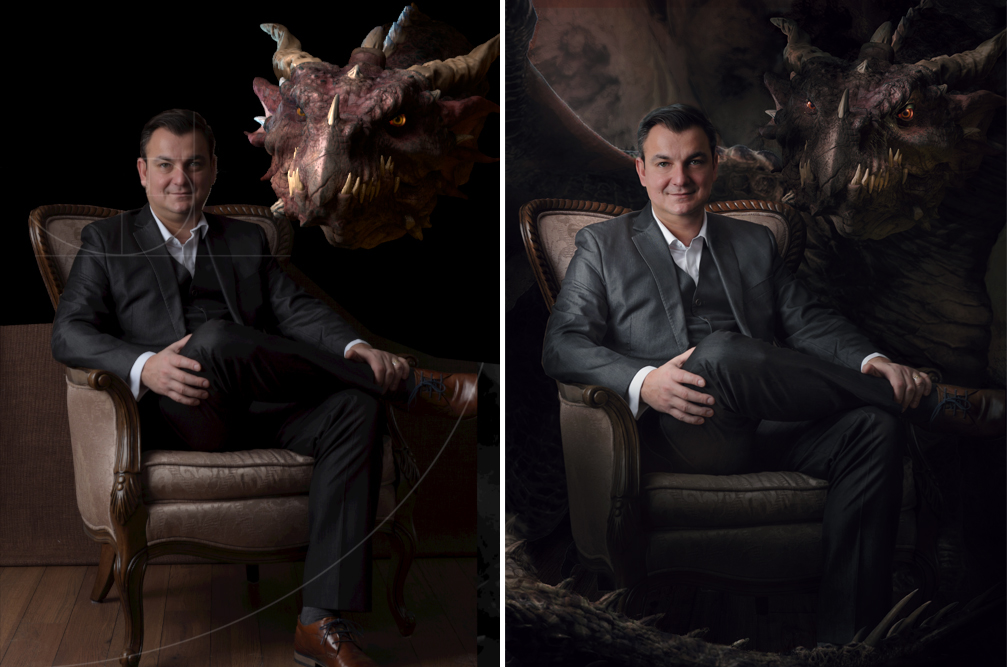
Digital Comp
Using the photos from the shoot, I am now able to rework the images in Photoshop (a digital painting/image manipulation software) to craft a digital version of what the final painting will look like. This is appreciated by clients because it allows them to get a solid idea of what their final portrait will look like, avoiding surprises. It also serves as a sort of visual contract.
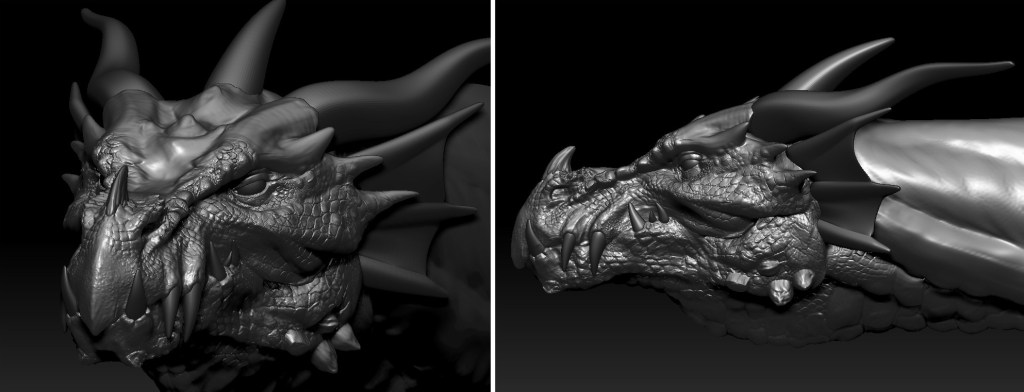
Zbrush sculpting 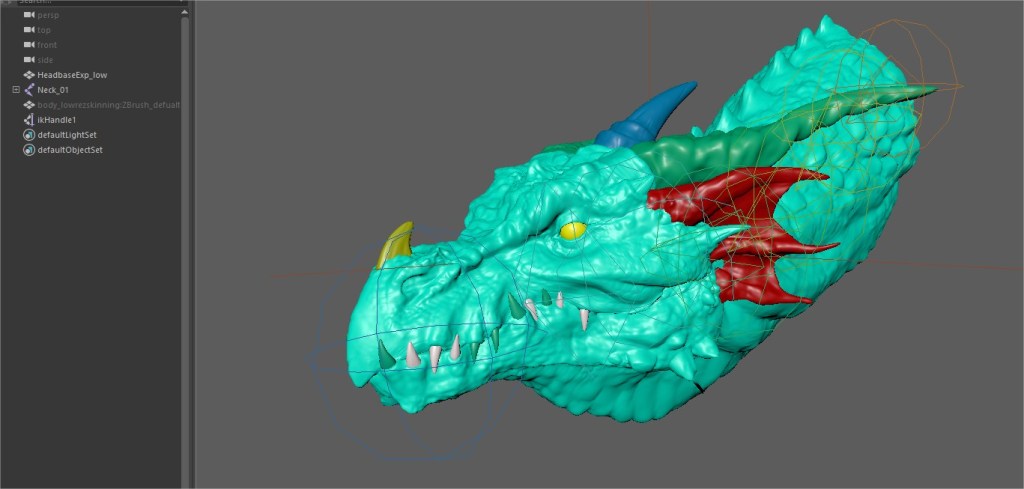
Rigging and posing in 3D 
Digitally painting the model
In this case, I had to conceptualize an original dragon design, digitally sculpt and paint the dragon using 3D software, and then pose it and light it in another 3D software. I then composited the dragon into the photo of Catalin and painted in other background details and a dragon tail. Finally, I adjusted colors, contrast and other tweaks to draw the eye to the main areas of interest. I often have to make aesthetic changes such as changes to pose, fabric folds, perspective, lighting artifacts, etc.
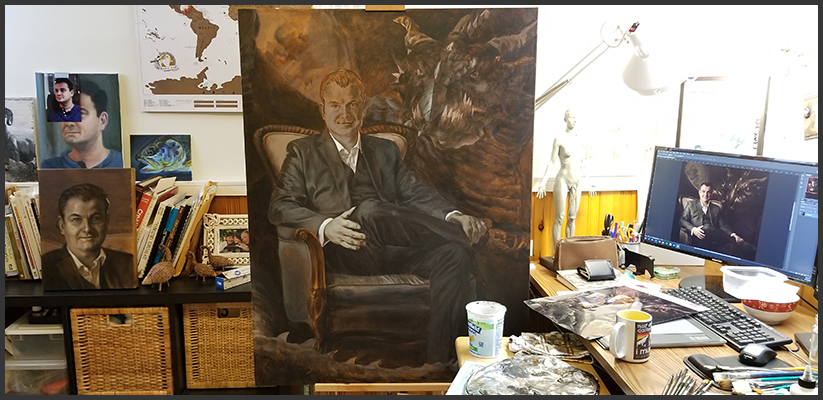
Surface Preparation and Sketch
Once I acquire the canvas (or panel, etc) it is time to hand-prepare it…this involves an application of several coats of gesso that is sanded between each coat. Once that is dry, I tint the surface with a darker color so that I am not painting on a pure white background…more often than not this is burnt umber.

Once this base color is dry, I sketch in the drawing of the composition in charcoal. Now I’m ready to paint!

Underpainting
The first layers of painting consist of developing the tonal values in a monochrome fashion. This way I can get the tones down accurately without worrying about color. It also ensures that the details are accurate before jumping into the color phase.

Color Passes
The underpainting done, I am ready to start laying in color. This is done in many layers, and at first may not appear accurate. There is a method to the madness however, and many layers of different hues in semi-transparent fashion make for a very luminous and deep appearance; a quality that so many classical paintings posess! I often refer to my favorite Masters paintings for reference.
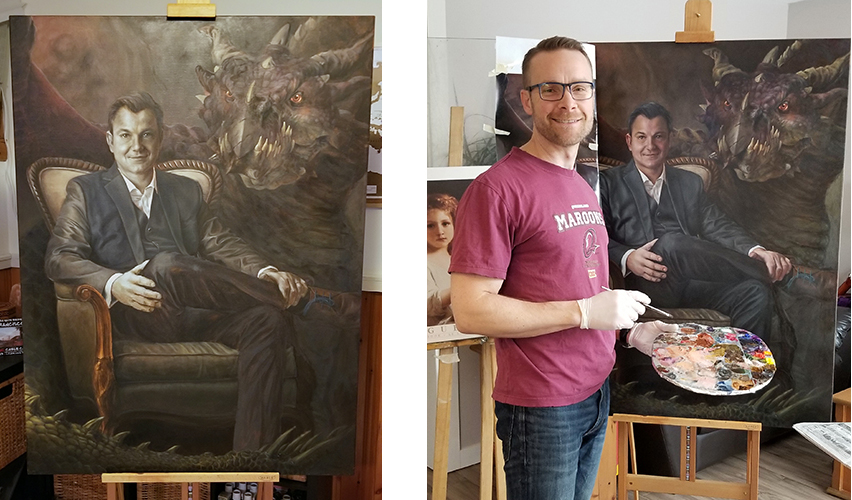
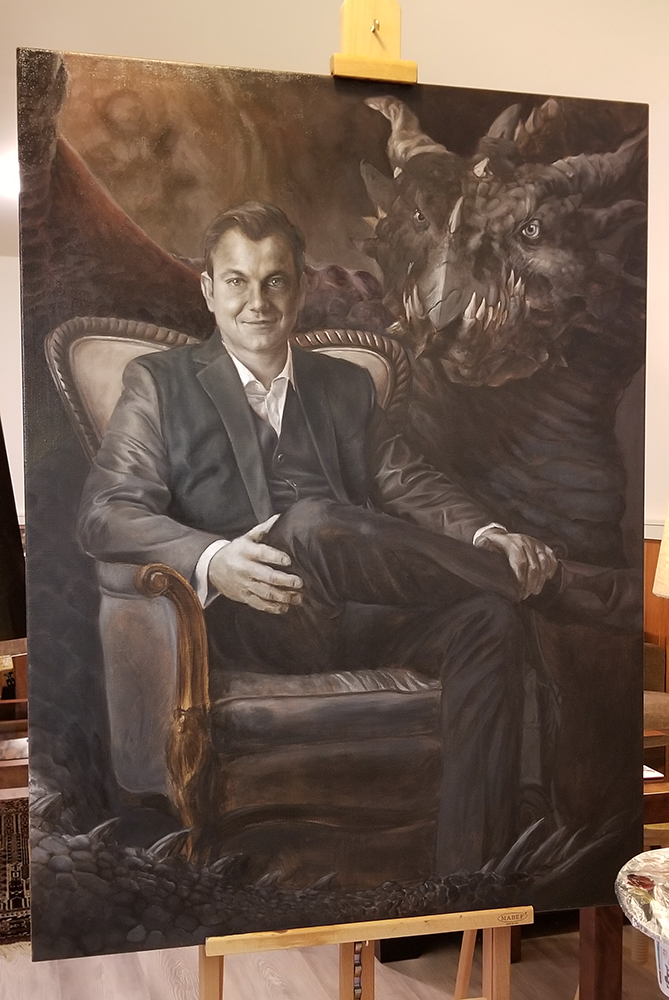
Finaling: retouches, corrections, balancing
This stage consists of layering in more color to get the accurate hues in a subtle fashion, and bringing back the lights (highlights, form modeling and contrast) that can be dimmed down during the color stage. Corrections are made throughout this stage and then at the end, some overall balancing of color, contrast, tone, and sheen are done to finalize the painting.

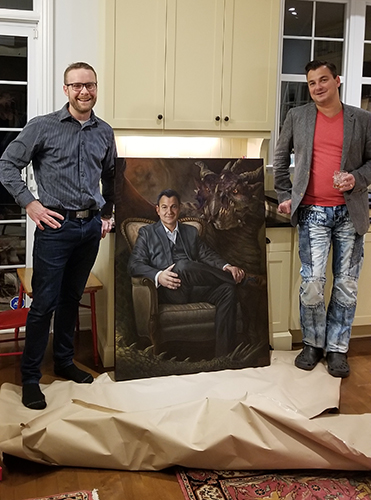
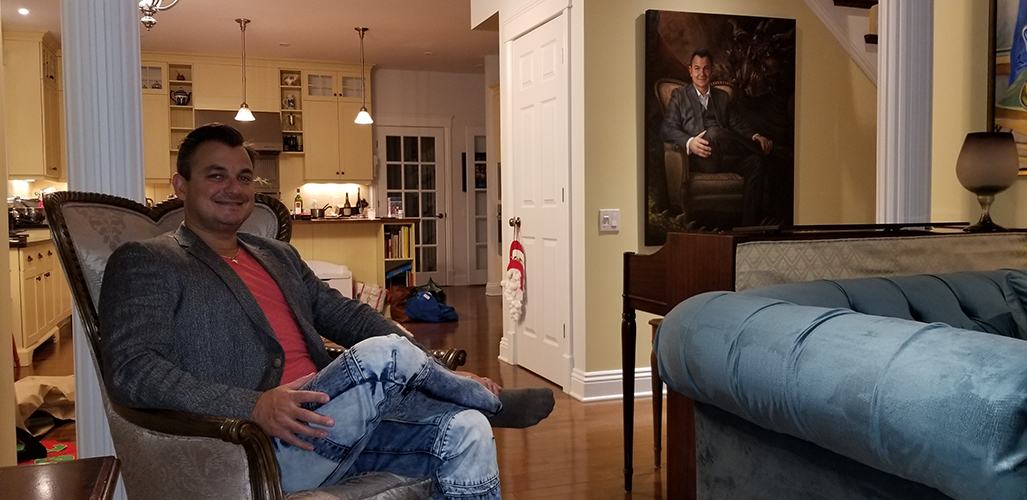
Delivery
The painting is now complete, and ready to be delivered and hung! Oil paintings take years to fully “dry”; in fact oil does not dry like acrylic but rather, it goes through an oxidization process. This means the first year the painting is dry to the touch but should be hung vertically so that dust cannot settle on the surface. Clients will often contact me after a year to ask for their artwork to be varnished; this ensures an extra layer of protection on the surface of their painting, allows for cleaning, and creates a beautiful even sheen as well as ensuring colors remain deep and saturated.
I hope that helps clarify my approach to portraiture. Please contact me if you have any questions at mwyeomansfineart@gmail.com
